Pages

Tuesday, 30 October 2012

Kheema ki paratha

Here i used mutton, chicken is also favourable.  Veggie lovers can substitute this with soya granules that can be cooked, and mashed to resemble kheema.


Ingredients required

  • 4-5 tsp of kheema (which is steamed and blended to smooth paste)
  • 2 tsp of fried onions or crumbled onion
  • 1 tsp garlic paste
  • 1 tsp ginger-garlic paste
  • Half tsp of crushed jeera
  • 1 tsp of chopped green chilli
  • 1 tsp of finely chopped curry leaves and mint leaves each
  • Salt, as required
  • Oil/ghee as required
  • Dough made by one cup of wheat flour, pinch of salt and required water.

Method

To make fried onions, add 2-3 finely sliced shallots to 3 tsp of oil and fry till they turn brown


Add this brown onions to kheema and all other ingredients (except dough) and mix properly, this is stuffing for our paratha.


Divide the dough into equal circles, roll each circle into moderate sized circle.  Spoon 1 tsp of filling into it.  Close and bring about like a circle, pinching off excess dough at tip.  Roll this into chapathi and cook them on both sides in tawa


 Serve with gravy of your choice

Monday, 29 October 2012

Roasted khoya powder

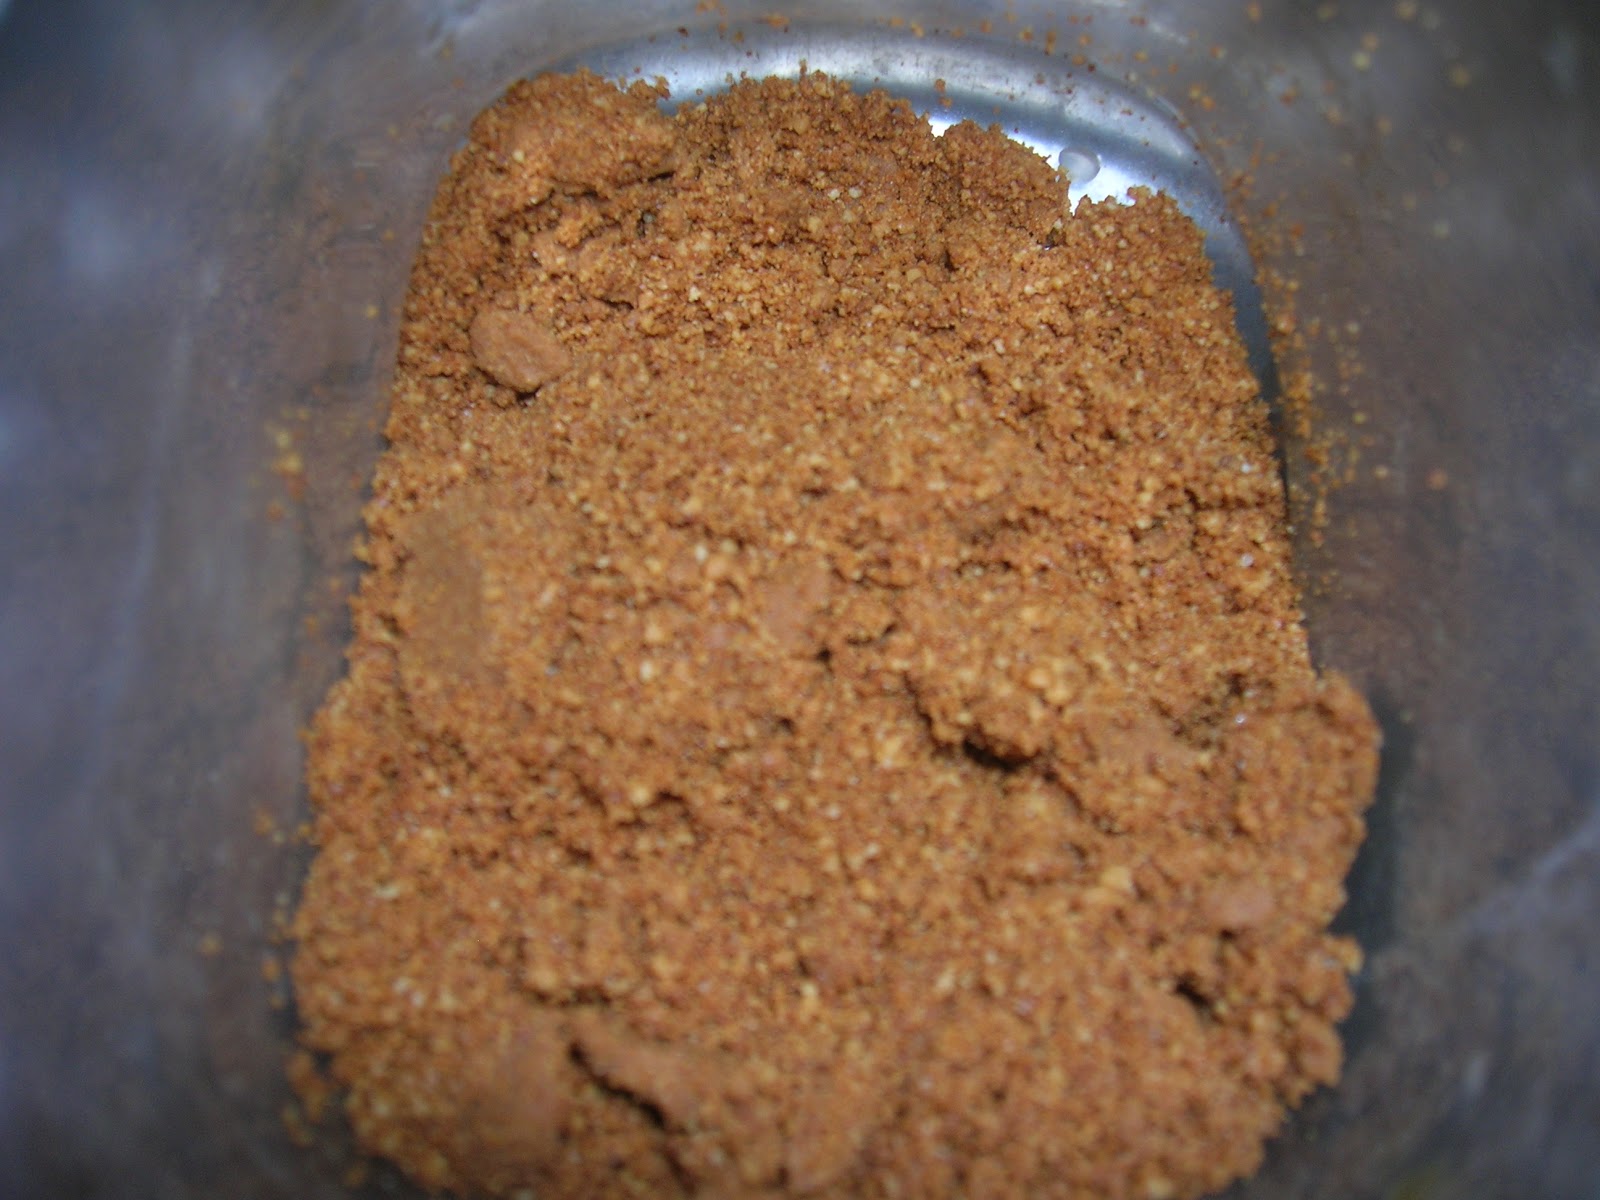
You can also roast the home-made khoya and blend to powder.  This powder can be stored in refridgerator and can be topped up for desserts, lassi, custard, added to make malpua, etc.  Will be posting recipes done using this powder soon.
  Take a cup of khoya and add three tsp of sugar on it, keep on stirring till sugar dissolves and turns choclate brown.  Blend it and store powder in air-tight container


Rai Ki Doodhi Recipe | Oriya Style Bottle Gourd in Mustard Gravy

An authentic Oriya-style curry, Rai Ki Doodhi brings a unique twist by using mustard seeds (rai) as the base of the gravy instead of just for tempering. This simple yet flavourful dish has a mildly pungent aroma with a creamy, spicy texture that pairs beautifully with chapathi or steamed rice. A comforting traditional recipe introduced to me by my neighbour — and definitely worth trying!


Homestyle Rai Ki Doodhi curry made with bottle gourd cooked in spicy mustard paste, tempered with curry leaves and cumin, served in a traditional bowl.


Ingredients Required

  • 2 cups bottle gourd, chopped and deseeded
  • 6–7 garlic cloves
  • 2–3 dry red chillies
  • 4 tsp mustard seeds (rai)
  • 3 tsp oil
  • ½ tsp mustard seeds (rai) for tempering
  • ½ tsp cumin seeds (jeera)
  • A few curry leaves
  • 2–3 tsp chopped onions
  • A pinch of turmeric powder (haldi)
  • Salt to taste

Method

  1. Grind mustard seeds, garlic, and dry red chillies into a smooth paste using little water.
  2. Combine the mustard paste with chopped bottle gourd, turmeric powder, and salt. Pressure cook for 1 whistle.
  3. Heat oil in a pan and prepare the tempering with mustard seeds, cumin seeds, curry leaves, and chopped onions. Sauté until the onions turn light golden.
  4. Add the tempering to the cooked bottle gourd mixture and mix gently.
  5. Serve hot with chapathi or steamed rice.


Kadaai Kobhi Recipe | Maharashtrian Baby Cabbage Dry Sabzi | Easy Indian Cabbage Stir Fry

Kadaai Kobhi is a simple yet flavourful Maharashtrian-style dry sabzi prepared using tender baby cabbages, aromatic spices, curd, and onions. This easy Indian cabbage stir fry is perfect to serve with dal rice, sambhar, rassa, or soft rotis.


Maharashtrian style Kadaai Kobhi dry sabzi made with baby cabbages


The mild crunch of baby cabbages combined with garam masala, jeera, dhaniya powder, and green chillies gives this dish a comforting homemade taste. The addition of dahi adds a subtle tanginess and helps coat the cabbage beautifully with spices.

This quick and healthy cabbage recipe is ideal for busy weekdays

Ingredients Required

  • ½ tsp jeera (cumin seeds)
  • 1 green chilli, roughly broken
  • 4 tsp finely chopped onions
  • 2 tsp dahi (curd/yogurt)
  • 10–12 baby cabbages
  • Salt to taste
  • ½ tsp garam masala
  • ½ tsp red chilli powder
  • 1 tsp dhaniya powder (coriander powder)
  • 1 tsp jeera powder (cumin powder)
  • A pinch of haldi (turmeric powder)
  • Coriander leaves and lemon slices for garnish
  • 3 tsp oil

Method

Heat oil in a kadaai and add jeera seeds. Allow them to crackle before adding the broken green chilli and chopped onions. Sauté until the onions turn light golden brown.

Next, add turmeric powder, chilli powder, dhaniya powder, jeera powder, garam masala, and salt. Mix well and stir in the dahi to create a flavourful masala base.

Add the baby cabbages and gently coat them with the masala. Cover and cook on low flame for about 15 minutes, stirring occasionally, until the cabbages become tender and well cooked.

Garnish with fresh coriander leaves and serve hot with dal rice, sambhar, rassa, or rotis.


Kadaai Kobhi is a simple yet delicious Maharashtrian-style dry sabzi that brings together the goodness of baby cabbages and aromatic Indian spices. Its comforting flavours and quick preparation make it a perfect everyday side dish for both rice and roti meals. 


Tangy Mint Chutney Recipe | Refreshing Pudina Coconut Chutney


A fresh and flavourful chutney can instantly elevate any meal, and this tangy mint chutney is one such versatile accompaniment. Made with fresh mint leaves, coriander, coconut, and curd, this chutney has the perfect balance of freshness, creaminess, and spice.


Tangy Mint Chutney Recipe


The addition of amchoor powder gives it a mild tangy twist, making it an excellent side dish for snacks, sandwiches, dosa, idli, pakoras, or even chapathi rolls. This quick and easy chutney comes together in just a few minutes and adds a burst of flavour to everyday meals.

Ingredients Required

  • 1 big handful of mint leaves
  • ½ onion
  • 1 medium-sized piece of coconut
  • 2 green chillies
  • ½ cup coriander leaves
  • ¼ cup curd
  • Amchoor powder (optional)
  • Salt to taste

Method

  1. Wash the mint leaves and coriander leaves thoroughly.
  2. Add mint leaves, coriander leaves, onion, coconut, green chillies, curd, salt, and amchoor powder to a mixer jar.
  3. Grind everything into a smooth and creamy paste by adding little water if required.
  4. Transfer to a serving bowl and serve fresh with snacks or meals.

This tangy mint chutney is a quick and refreshing recipe that pairs beautifully with a variety of Indian dishes. The freshness of mint and coriander combined with creamy coconut and curd creates a delicious balance of flavours. Whether served with breakfast, snacks, or main meals, this easy homemade chutney is sure to become a regular favourite in your kitchen.


Sakkarpoori Recipe | Crispy Sugar Coated Layered Poori Dessert

Hi guys! This is my 50th blog post, so I wanted to make it extra special — and what better way than with a traditional sweet treat? Sakkarpoori is a crispy, flaky, layered dessert coated with fragrant sugar and cardamom powder. It is crunchy, mildly sweet, and absolutely addictive with a cup of tea or coffee.


Golden crispy Sakkarpoori stacked in a container and coated with sugar powder, a traditional layered Indian sweet dessert prepared with maida and cardamom.


The beauty of this recipe lies in its delicate layers, which are created using a simple rice flour paste called satta. Though it may look slightly elaborate, the end result is truly worth the effort!


Ingredients Required

For Dough

  • 2 cups maida
  • ¼ tsp salt
  • Water as required

For Satta (Layering Paste)

  • 3 tsp rice flour
  • 2–3 tsp vanaspati or oil

Other Ingredients

  • ½ cup sugar
  • 6–7 cardamom pods
  • Oil for deep frying


Method

Step 1: Prepare Sugar Powder

Powder the sugar along with cardamom pods and keep aside.

Step 2: Prepare Dough

Knead maida with salt and water into a smooth and soft dough. Cover with a wet muslin cloth and let it rest for 1 hour.

Step 3: Prepare Satta

Mix rice flour and vanaspati/oil into a smooth paste-like consistency. This paste helps create flaky layers in the poori.

Step 4: Roll Chapathis

Divide the dough into medium-sized balls. Roll four balls into large thin chapathis.

Step 5: Layer the Chapathis

Place one chapathi and apply a thin layer of satta evenly. Place another chapathi over it. Repeat the process until all four chapathis are layered together.

Step 6: Roll into Cylinder

Carefully roll the layered chapathis tightly from one end to another to form a thick cylinder.

Step 7: Cut into Pieces

Cut the cylinder into small equal-sized pieces.

Step 8: Roll into Pooris

Place each piece sideways so the layered curves are visible. Roll gently into small pooris.

Step 9: Deep Fry

Deep fry the pooris in hot oil until crisp and golden.

Step 10: Coat with Sugar

While the pooris are still hot, sprinkle the sugar-cardamom powder generously so it coats well.

Serve crispy and fresh!


Tips for Beginners

  • Apply only a thin layer of satta; thick layers can make the pooris soggy.
  • After making the cylinder, rest it under a wet muslin cloth for not more than 20 minutes. Longer resting may turn the pooris reddish after frying.
  • Sprinkle sugar powder while the pooris are hot for better coating.
  • Store in an airtight container; Sakkarpoori stays fresh for up to a month.
  • For beginners, it is easier and more fun to prepare this recipe with at least one more person helping.


Sakkarpoori is one of those nostalgic traditional sweets that combines crispiness, sweetness, and beautiful flaky layers in every bite. Perfect for festivals, celebrations, or tea-time munching, this homemade dessert is sure to impress your family and guests alike. Once you master the layering technique, you’ll love making this crunchy sweet again and again! 

Saturday, 27 October 2012

Milk Aur Badami Laddu Recipe | Easy Khoya Almond Laddu

These yummy laddus are rich, soft, and absolutely delicious! Made with homemade khoya and almonds, this simple sweet recipe is perfect for festivals, celebrations, or whenever you crave a quick homemade dessert.


Soft homemade Milk Aur Badami Laddu made with khoya and powdered almonds, coated with almond crumbs and served as a traditional Indian sweet.


The combination of creamy khoya, aromatic cardamom, and nutty almonds creates melt-in-the-mouth laddus that are both elegant and comforting. The best part is that this recipe requires very few ingredients and comes together effortlessly.


Ingredients Required

  • 1 cup khoya
  • ½ cup powdered almonds
  • A pinch of cardamom powder
  • 2–3 tsp sugar


Method

  1. In a large bowl, combine khoya, sugar, and cardamom powder.
  2. Mix and knead the mixture well until the sugar dissolves completely into the dough.
  3. Grease your hands lightly with oil and roll the mixture into small laddus.
  4. Roll each laddu in powdered almonds for a delicious nutty coating.
  5. Serve at room temperature or refrigerate for a chilled treat.

These laddus can be stored in the refrigerator for up to a week — though they usually disappear much before that!


Milk Aur Badami Laddu is a quick and delightful Indian sweet that combines the richness of khoya with the goodness of almonds. Soft, creamy, and full of flavour, these laddus are ideal for festive platters, gifting, or satisfying sweet cravings at home. Try this easy homemade recipe and enjoy a melt-in-the-mouth dessert with your family and friends.


Homemade Khoya Recipe | Easy Mawa Recipe Using Paneer and Milk Powder

Homemade Khoya, also known as mawa, is one of the most important ingredients used in traditional Indian sweets and desserts. This quick and easy version is prepared using homemade paneer, milk powder, and milk, giving a rich and soft khoya perfect for gulab jamun, halwa, barfi, peda, and many festive delicacies.

Soft homemade khoya dough prepared using paneer, milk powder, and milk


Making khoya at home is economical, fresh, and free from preservatives. With just a few ingredients, you can prepare soft and delicious mawa within minutes.


Ingredients Required

  • 2–3 tsp oil or ghee
  • ½ cup homemade paneer (prepared from 1¼ litre milk)
  • ½ cup milk powder
  • ½ cup milk

Method

  1. In a broad heavy-bottomed pan, add ghee or oil, homemade paneer, milk powder, and milk.
  2. Mix everything well until the mixture reaches a smooth pouring consistency.
  3. Keep the flame low and cook while stirring continuously.
  4. Gradually, the moisture starts evaporating and the mixture thickens.
  5. Continue stirring carefully for about 10–12 minutes to avoid burning.
  6. Once the mixture forms a soft dough-like consistency, switch off the flame.
  7. Allow it to cool completely.
  8. Store the homemade khoya in the refrigerator and use it for preparing sweets and desserts. It stays good for about one week.

Recipe source:  http://www.manjulaskitchen.com/